
DIY Gallery Wall on a Budget: Planning, Hanging, and Leveling
A gallery wall looks like the kind of thing you need a designer, a large budget, and a laser level for. You don't. Most of the cost lives in the frames, and frames are the one thing thrift stores can barely give away. What separates a wall that looks collected from one that looks accidental is planning: deciding the layout before a single nail goes in, and using paper templates so you can rearrange everything without patching holes. Here is the whole process, start to finish.
Measure the Space and Pick a Layout
Before you shop, measure. Write down the width of the wall or the zone you want to cover, the height between the top of your furniture and the ceiling, and where outlets and light switches fall. If the gallery sits above a sofa or console, plan for six to ten inches of breathing room above the furniture back so the art feels connected to the room instead of drifting toward the ceiling.
Then choose a pattern. Four that work well with mismatched frames:
- Salon style: many frames, mixed sizes, packed closely to fill a defined area. Forgiving and very thrift-friendly.
- Grid: same-size frames in even rows and columns. Calm and orderly, but it demands precise spacing.
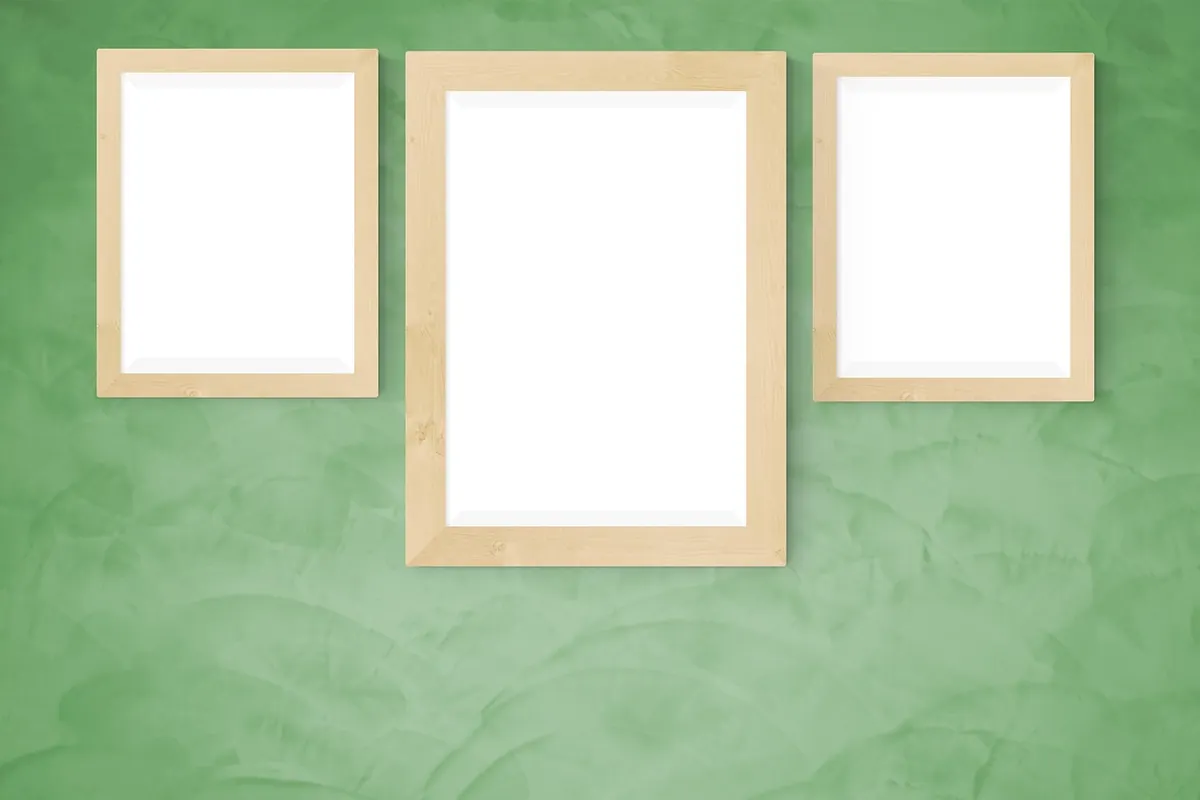
- Center-out: one larger anchor piece in the middle, smaller frames radiating around it.
- Ascending: frames climb in a diagonal line, which suits a staircase wall or a sloped ceiling.
Sketch the shape on paper, roughly to scale. A quick rectangle for the wall and squares for the frames will tell you whether you have enough pieces before you buy more.
Build a Set of Frames for Less
Thrift stores, estate sales, flea markets, buy-nothing groups, and your own storage bins are the best sources. Ignore the finish entirely — color is the cheapest thing to change. Look instead for structural quality: tight corners, no cracked glass, hangers that are still attached, and mats that aren't stained or warped.
To make a random collection read as one deliberate group, pick a single unifying element and repeat it. Options that work:
- Spray paint every frame the same matte black, white, or brass.
- Keep the wood tones but strip glossy finishes so they share one soft sheen.
- Use one mat color for everything — cream or white — and cut or buy mats to fit odd sizes.
- Stick to one subject: black-and-white photos, botanical prints, vintage maps, or your own snapshots.
Free art is everywhere. Pages from damaged books, sheet music, fabric scraps, pressed leaves, ticket stubs, and kids' drawings all look intentional once they're matted and framed. A mat is what makes a five-dollar frame look considered rather than cheap.
Make Paper Templates, Then Hang
This step is the one people skip, and it's the one that saves the most time and wall repair. Grab kraft paper, newspaper, or the back of old wrapping paper and follow this order:
- Trace each frame's outline onto paper and cut just inside the line so the template isn't larger than the frame.
- Write a label on each template — "small black," "map frame" — and note which side is up.
- Flip the frame over and find its hardware. Measure from the top edge down to the top of the D-ring, or to the peak of the wire when you pull it taut toward the top. Mark that distance on the template and punch a small hole there. That hole is where the nail goes.
- Tape the templates to the wall with painter's tape, following your chosen pattern. Step back often and take a photo with your phone; the camera catches uneven spacing that your eye forgives up close.
- Leave the arrangement up overnight if you're unsure. When it looks right, hammer or press your hook straight through the punched hole, then gently tear the paper away.
Test the painter's tape on a hidden patch of wall first if your paint is fresh or flat. Pull it slowly and at a low angle.
Spacing, Height, and the Details That Sell It
Consistent gaps are what make a mixed gallery look professional. Two to three inches between frames is a reliable range for salon-style walls; tighter feels frantic, wider feels scattered. Cut a piece of cardboard to that exact width and use it as a spacer instead of eyeballing each gap.
For height, most galleries center around 57 to 60 inches from the floor, roughly eye level for an average adult. Above furniture, let the bottom edge of the lowest frame sit six to ten inches above the sofa or console. Keep the outer edges of your arrangement aligned to an invisible rectangle — that's the shape your eye reads as a single composition.
Renter-Friendly Hanging That Holds
Weigh each frame on a kitchen scale before you decide how to hang it. Glass and thick mats add up faster than you expect.
- Adhesive strips work well for light frames. Clean the wall with rubbing alcohol, press firmly for the recommended time, and wait an hour before hanging. Remove them later by pulling the tab straight down, slowly, parallel to the wall.
- Adhesive hooks suit small, light pieces and are easy to reposition with a fresh strip.
- Small finishing nails leave holes a fingertip of spackle will hide in seconds. For a grid of light frames, this is often the simplest route.
- Screw-in drywall anchors are the right call for anything heavy, especially large glass pieces. Use two hooks for wide frames so they can't tilt.
Check your lease before you start. Some agreements are strict about adhesive damage and nail holes, so a quick look or a message to your landlord now saves a deposit conversation later.
Leveling and Small Fixes
Draw a faint pencil line at your chosen center height and align the top row of templates to it. Hang the top-left frame first, check it with a level or a phone level app, and use it as your reference for the rest. Verify each frame as you go rather than saving the level for the end.
If a frame keeps drifting, it's usually the wire sliding on the hook or a wall that isn't flat. Press a small piece of museum putty or a felt bumper onto the back of the lower corner that leans out. That tiny wedge corrects the tilt without moving the hook. When you remove a frame for good, fill the hole with spackle, let it dry, and touch up the paint with a dab from a sample pot.
Keep the Wall Flexible
A finished gallery doesn't have to be frozen. Leave one or two empty spots in the layout and keep blank templates in a drawer, so a new find can go up the same week you bring it home. Photograph the finished arrangement and save it to your phone; if you take pieces down for cleaning or repainting, you can rebuild the whole thing in minutes. Step back from across the room, then from the doorway, and live with it for a few days before making small adjustments. The wall should look like it grew there over time, because in the best versions, it did.
Photo: RaniRamli / Pixabay